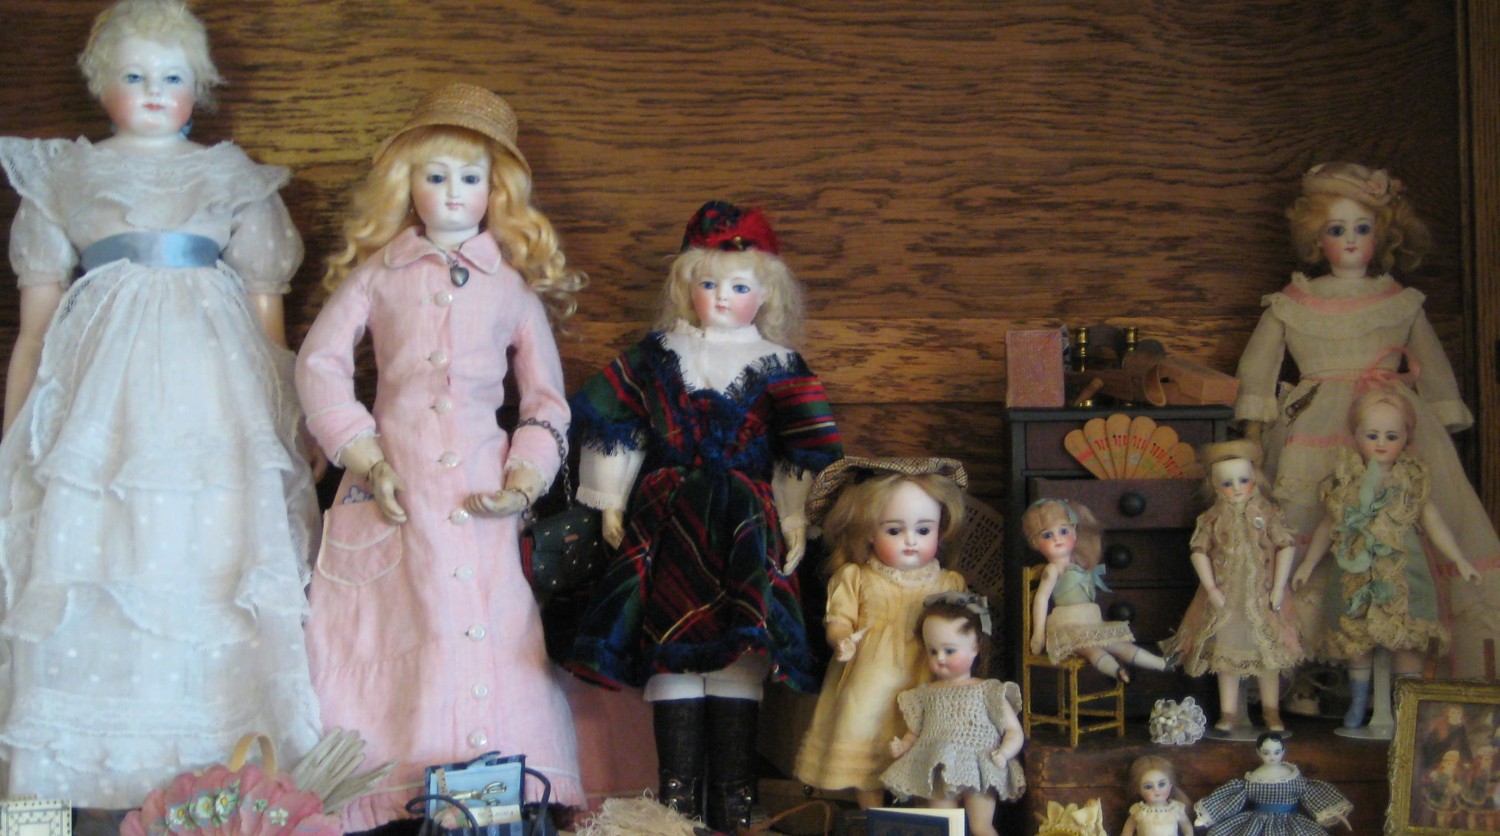
The second dress is done and even though it is silk dupioni, like dress one, it is completely different.
My first step was to cut one more piece out of both the fabric and lining, the back pleat. I decided that it should be 1 5/8″ high and cut at a 60 degree angle. I used a plastic lid to draw the curve with my mechanical chalk pencil onto the fabric and used the angles marked on my cutting board to get the 60 degree angle.
How did I determine the angle and height of the pleat? Guessing, then trial and error.
To sew the pleat, I lined it up with one back edge and the bottom of the dress and sewed. You can see, along the hem edge, that the Fray Preventer stained the silk a bit. This is why it must be applied carefully and sparingly, and only in areas that won’t be seen on the finished garment.
Then I pressed the pleat toward the opening.
Next, I attached the other side by lining up the bottom edges and stitching a straight seam.
I wanted to see how it looked, so I pressed the pleat. Here’s how it looks from the outside.
The inside shows how the pleat was pressed with even folds on each side, tapering to no fold at the top.
The rest of the dress was finished just like the one in Beginning Hand Sewing. The only difference being that I had to open up the pleat to hem along with the dress back, then repress it.
One of the more common trims on antique doll dresses is gathered ribbon. For this dress I used a tiny, pale pink, silk satin ribbon and two needles threaded with matching thread. With one needle, I sewed a running stitch down the center of the ribbon. Then I used the other needle to stitch the ribbon to the dress, gathering it as I went along.
I trimmed the hem and sleeve openings with lace and sewed a bow to the center back. For the bow, I wrapped the ribbon 3 times around my thumb, then squeezed the middle. The loop over the bow and the hanging ribbon were separate pieces that I sewed to the bow.
For a more traditional look, I steamed and pressed the ribbon and bow to flatten them a bit.
The front is closed with 3 hooks and tiny thread loops along the front edge, sewn with pale pink thread.
Here’s the finished dress on the sweet, but bald doll.
Next time, I’ll show you some new techniques on the final, pale pink, tissue taffeta dress.
Then it’s on to wigs and hats.


