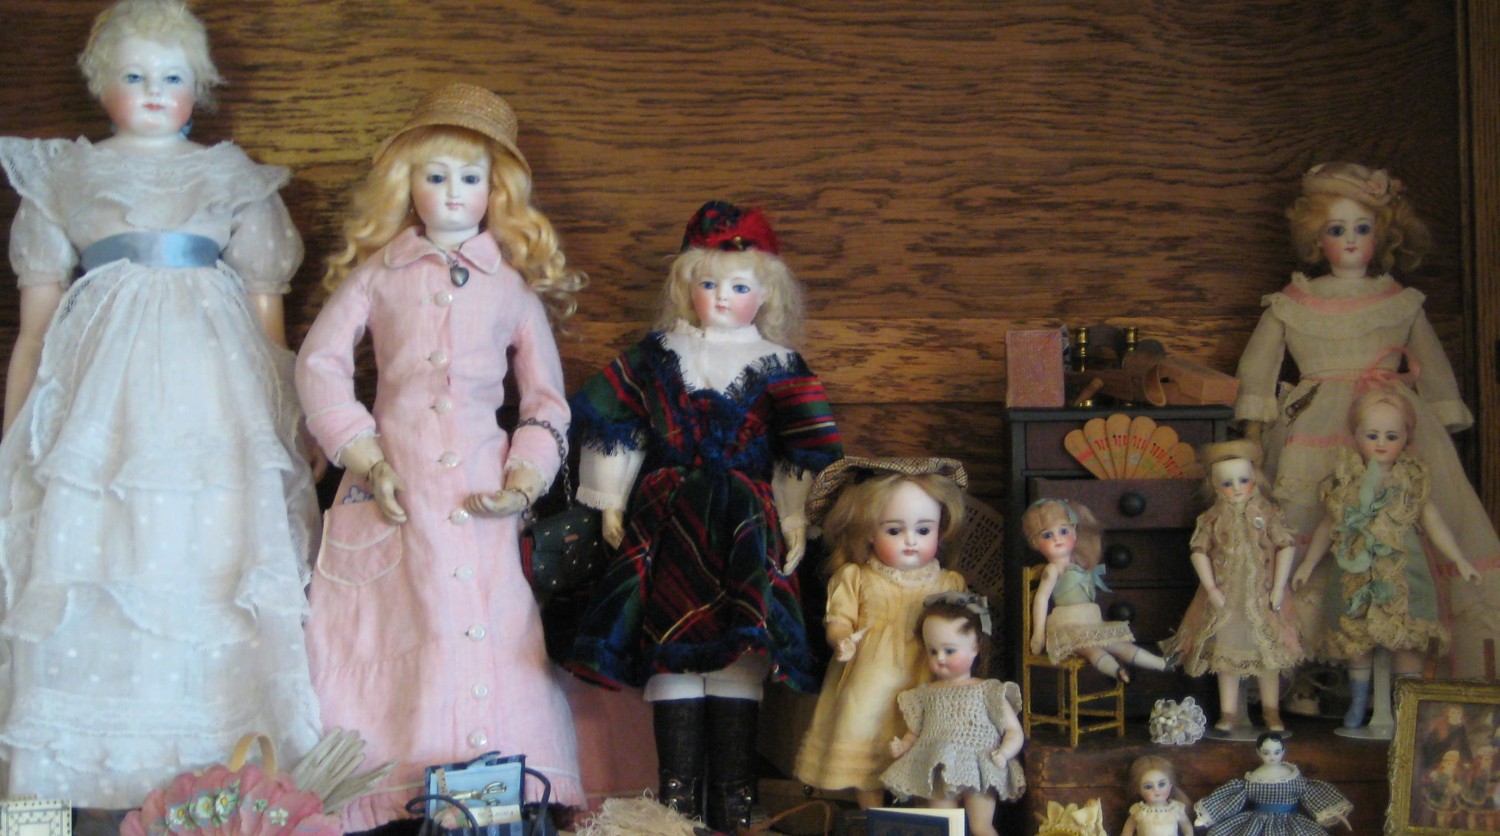
I’ve talked about tucks. And shown you tucks. So I thought that I should show you how to make them by hand.
For the record, pleats are folds that are normally sewn only at the top and/or bottom, and tucks are sewn along the length of the fold.

Inspired by this slip/dress from La Poupee Modele

for my S&H 890, I’ll show you how to make released tucks. In other words, they don’t go from top to bottom of the piece of fabric, they pleat the fabric for a short way, then release it.
When I machine sew pin-tucks, I normally start with a rectangle of fabric, sew the tucks in the center of the rectangle, then place the pattern piece on top and cut it out.
But when sewing by hand, if you cut through a line of hand stitching, it is more likely to come apart. So I prefer to cut out the pattern piece first, allowing for the added fabric for the tucks.
I am not a fan of planning everything down to the last detail. Whenever I pre-measure and precisely plan, nothing works out the way it should.
But when I guesstimate, I have better luck. It’s a zen thing.

When cutting out this slip/dress front, I placed the center front about 1/4″ from the fold, adding about 1/2″ to the center. In the photo above, a pin marks the center.

Next, I made a fold to the left of center to allow for the first tuck. I placed this fold where I thought it would look best, considering the size of the tucks I planned to sew.

Then I laid the piece over the doll to see where I wanted the tucks to end, and marked it with another pin.

Fold the fabric and make small, running stitches to hold down the tuck.

At the bottom of the tuck, I took a small back stitch. Then I took the needle to the back, taking a couple of tiny stitches under the fold to secure the thread before cutting it.
Now, I measure.

I measured the distance from the center to the folded edge of the tuck. As you can see, it’s somewhere just over 1/8″ or around 5 mm. It really doesn’t matter what the number is, just where the blue guide sits.

I made a fold on the right side the same distance from the center as the left tuck by using the blue guide. Then I stitched the second tuck.

TaDa!
After trying the piece on the doll again, I decided that I needed two more tucks.

By trial and error, I determined that the next tucks needed to be 1/4″ away from the stitching line of the previous tucks. I test-folded until I got the look I wanted.

Two more tucks were sewn, one on either side. And it looks like the slip/dress front will fit.

They look pretty even and well-placed, even if I say so myself. I might add a bit of embroidery down the center, though.
So don’t stress about measurements so much. Loads of “mistakes” can be easily corrected as you sew by
- judicious trimming,
- adding or subtracting tucks, gathers or pleats, or
- adjusting the seam size.
And if it doesn’t work out exactly as you like it, move on. It may work for another doll or you may have to chalk it up to experience, trash it, and start over. Not the end of the world.
Now you may wonder what I’ll do with the neck edge of the slip/dress, with all those folds and tucks. Well, I’ll show you a trick on how to finish it soon.


Thank you for the tutorial. I too, find that things in general go better when sewing when I am more “relaxed” with the details. Looking forward to the neckline finish!
Thank you! I absolutely love your blog.