My next step toward making more doll-sized 17th century embroidered caskets is to finish the inside of my first one so that I can make sure all my measurements work.
I ordered miniature marbled paper from Jemma Lewis in England. I requested a mainly pink design, specifically a medium warm pink. I had collected silk and silk velvet in a medium coral pink, so I wanted the paper to coordinate.
Well, there’s good news and bad news. The paper came a few weeks ago and it is absolutely beautiful. The paper itself is very thin, but sturdy.

But it’s rather mauvish, leaning towards purple, not a warm pink. I guess the trans-oceanic communication needs work.
I’ve decided that when I order more paper that I’ll take the time to send her snippets of the fabrics I plan to use so there will be no english/English issues.

I did find a mauve tissue silk taffeta in my stash that works well with the paper and I will use that for the wee casket.

The silk velvet is another issue. I don’t need much of it, but the bright coral pink definitely wouldn’t work. So I tried to dye it with blue Koolaid. It looks a little weird, but I’m going to use it.

The fronts of the drawers will be covered in the mauve silk, bordered by silver braid.

In the antique caskets, the top edges of the drawers were usually covered with a silver-stamped paper border. Since my casket is too tiny for this, I used a Krylon, acid-free, Silver Leafing Pen to “paint” the edges.

I’m pretty thrilled with how nice the paper looks with the silver edging. I cut it with an X-Acto knife and pressed it in place with my trusty Martha Stewart bone folder.
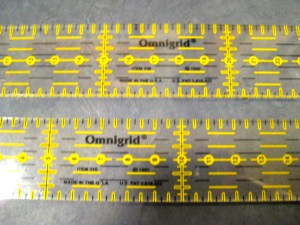
To measure and mark the paper (on the back side) for cutting, I used a metric metal ruler. Then, out of curiosity I checked online to see if clear quilting rulers came in metric.

They do! These will make it much easier to measure and cut the paper. I can see the markings and won’t need to pencil in the lines. I can just cut them.

In the 17th century, the paper, silk and embroidery was attached to the casket with wheat paste (or maybe animal glue). I chose to use acid-free YES paste, which was recommended by one of the students in my CoC class and it works great.

It’s thick so it doesn’t damage the paper, but it’s easy to spread evenly.
If I was into scrapbooking, all this stuff would be old hat, but I’m a rookie in the modern world of cut and paste.
I like it.

There is some progress on the stitching on my trinket box.

I’m rather fond of how this drizzle stitch grass is looking.

And I’ve finally finished the embroidery for the smock for my Bru’s fairy costume. I’m almost done sewing the smock together. Hopefully, it’ll be done so that I can show her wearing it tomorrow. I’ll try.


Everything looks wonderful. Can’t wait to see the casket and the doll smock finished!
Thank you.