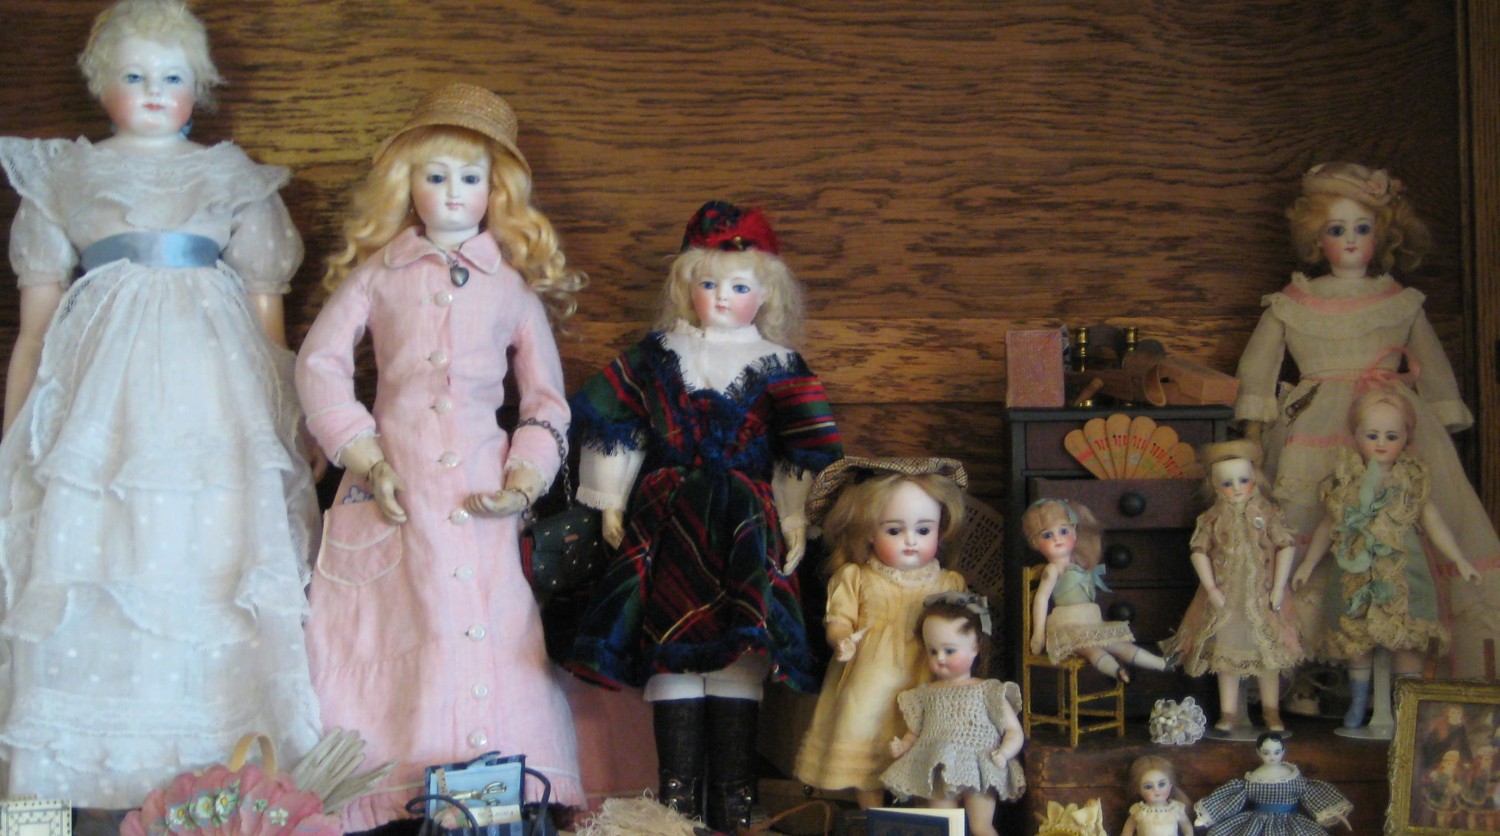
Dress 3 is done. I’m not sure about the ribbon belt, though. I’ll decide later.
In this tutorial, I will show you one way to add a skirt to the basic dress and how to sew lace to lace.
To make it, I started with the bodice and finished it like the basic pattern, except for the bottom edge, which I left unfinished.
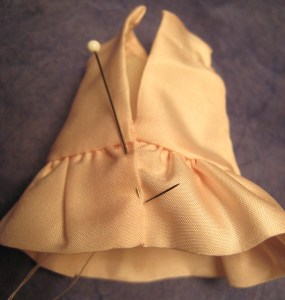
There are several different options to finish the skirt. I chose to fold the skirt piece in half since the fabric is so fine. It gives it more body than if I used a single thickness and hemmed it. I sewed gathering threads along the top edge.
The gathers were adjusted and pinned to the bottom edge of the bodice.
I left 1/4″ overhang on each side of the skirt to allow for the back seam.
This shows the skirt sewn to the bodice. The seam is pressed toward the bodice and whip stitched to the lining.
On the left side, I folded the 1/4″ overhang to the inside and slip stitched it.
Then I pinned the back seam with the left side slightly overlapping the right side.
I stitched the skirt seam by bringing the needle up along the overlapped edge, then taking it to the back directly under the stitch.
This makes an almost invisible seam in the skirt. The bodice back is left open.
The seam is pressed to the side and whipstitched.
I wanted to trim the skirt and neckline with wider lace. My options were to use a wide lace or make my own by combining the edging lace I used on the undies with insertion lace. Insertion lace is lace that has two straight parallel sides.
If you look at old sewing books about how to stitch lace together, they always say to lay the laces side by side and stitch. This never made sense to me. I do it by placing the laces one on top of the other and stitching with a narrow seam, just catching the outer threads of each lace.
After the laces are combined, they are treated as one piece. To gather this new wide lace, just pull a thread in the top edge of the insertion lace.
I sewed the gathered, wide lace to the bottom edge of the bodice and to the neckline. I sewed the narrow edging lace to the sleeve openings. The back is closed with one tiny hook and thread loop.
My triple flip dolls have now gone from bald and naked…
to bald and clothed. Just a note on easier dressing of tiny dolls: for narrower dresses with back seams (like the two on the left), put the dress on without the slip, then put the slip back on under the dress.
Wigs are next.
And I’m still not done with variations on the basic pattern. How about a plastron? What’s a plastron?


