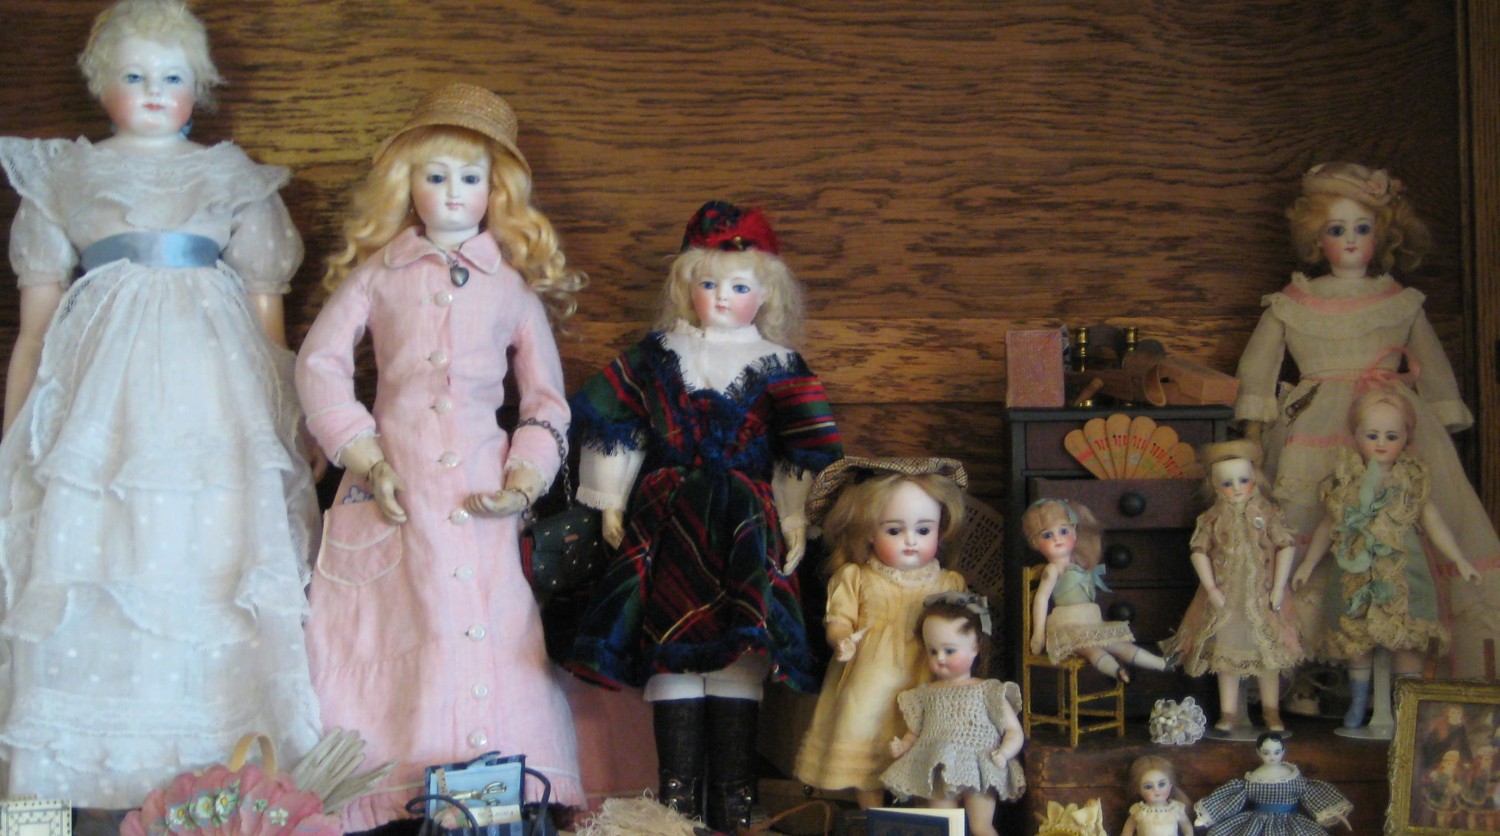
Two of my flip dolls now have new straw hats. I’ll show you how I “made” one of the hats today and the other one tomorrow. This one gave me a bit of trouble.
For the first doll, I used a flat brimmed “boater” style hat. I always buy tiny straw hats when I find them at the craft store. There’s so much I can do to manipulate and adorn them for my tiny dolls.
I’m sorry that I don’t remember where I got this cute hat, because it’s the last one I have in this tiny size. Since I liked the shape, I didn’t change it, but just adorned it.
To line the hat, I found that I had this 1-5/16″ (34cm) silk ribbon in my stash that went well with her dress fabric. This is not the heavy double-faced silk satin ribbon, but is the lighter type used for silk ribbon embroidery.
With my regular, cotton sewing thread and a short needle, I sewed one edge of the ribbon to the hat. When sewing straw hats, make sure you start with a big knot that won’t pull through the straw.
I took short stitches through the silk and longer stitches through the hat since my thread color matched the hat and wouldn’t show.
After sewing all around the hat brim, I trimmed the silk ribbon and folded under the cut end.
Then stitched the folded edge to close the lining.
Next, I made gathering stitches around the open end.
I pulled it together and whip stitched through the center a few times to hold it closed.
To center the lining, I pulled the needle up through the center of the crown, took a small stitch, then brought it back inside and took a couple of small backstitches to finish off the thread.
To make the inside brim look neater, I pinned it onto tiny pleats and steamed it with a warm iron. Make sure you use glass-head pins, plastic ones will melt when they get near an iron.
Here’s where the oops comes in. I sewed in two rows of lace, then realized that I used the wrong lace. I know that it really doesn’t matter in the big picture, but I like matching lace, so I took it all out and started again.
I pulled a thread in the edge of the lace slightly to fit the curve of the brim, but not to gather it. Then, I stitched the flat side of the lace through the straw, so that the outer edge of the lace lines up with the edge of the brim. This time, I took longer stitches on the lace side and shorter ones through the hat.
Continuing around the brim, I folded under the end and stitch it closed. I repeated this with another row of lace that just overlaps the edge of the first row.
On the outside, I used “buds and bows” silk trim. It can be expensive, but I used less than 4″ for this hat. I sewed it in place by stitching through the straw and hiding my stitches under the flowers.
The first/wrong lace I sewed to this hat laid flat, but this one wants to curl inward even after I steamed it. I think that the lace may naturally curl one way and would lie flatter if I turned it the other way, but I’m not sure if it matters enough to redo this a third time. I probably will redo it, though.
Tomorrow, I’ll show you how to reshape a straw hat and make ribbon rosettes.


loved your tutorial. Thank you