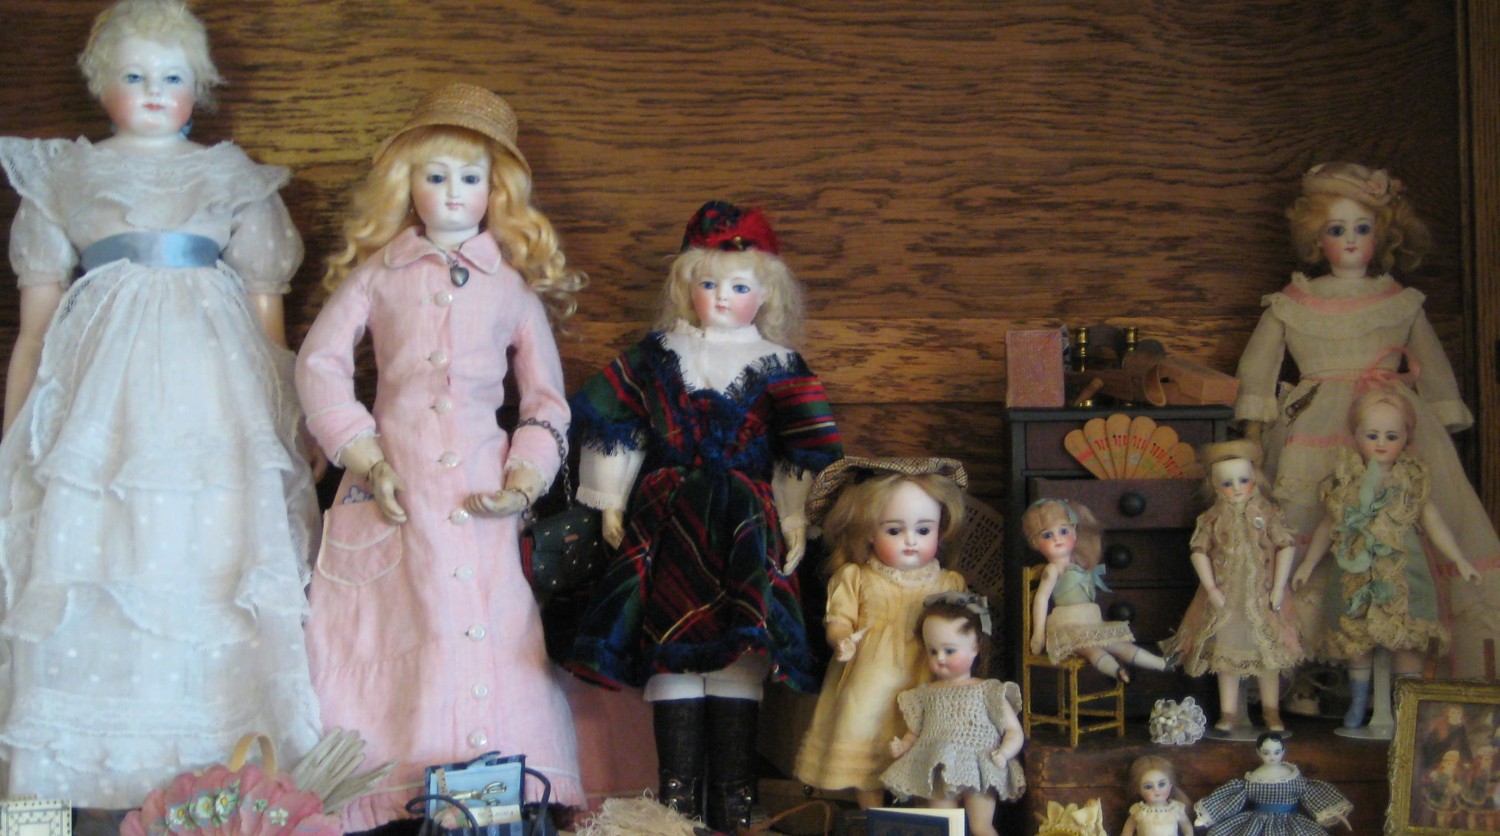
I am going to walk you through every step in the creation of a small (under 10”) doll’s costume. This multi-part tutorial will tell you what materials and tools you’ll need, discuss fabric and trim selection, show the basic hand sewing stitches and techniques, and discuss how to finish the costume.
I will provide free basic patterns/formulas as we go and explain how to adjust them to fit your doll and how to change them to make many costumes from a few simple patterns.
Today, I’ll go over the basic materials, tools and fabric we’ll need to get started. The items I am showing are just suggestions, choose what is available in your area and what you’re comfortable with. Don’t worry too much yet about the completed costume, because we are going to start with undergarments.
The original underwear on small all-bisque or bisque head dolls I have studied was usually made from a gauzy cotton or a heavier, simple cotton. For this project, I will use a cotton batiste. It is light weight, but easier to work with than gauze. You can choose to use the exquisite, but expensive, Swiss Nelona or an inexpensive cotton batiste. Just make sure that you choose a fabric that is 100% cotton. Muslin or quilting fabric will be too heavy. Synthetics and blends don’t drape as well and are not authentic to the period we’re trying to emulate. One-quarter yard of cotton is plenty to make undies for several small dolls, depending on their size.
If you don’t want your fabric to be stark white, you’ll need instant coffee and white vinegar to “age” it a bit. I don’t use tea because it usually gives an orangy look to the fabric. I’ll show you how to do it in the next lesson.
For thread, I recommend Mettler Fine Embroidery cotton thread. I always keep a supply of color #0512 because it is a good neutral off-white/cream color. For sewing thread, the larger the size number, the finer the thread. Ordinary sewing thread is size 50 and Mettler Fine Embroidery is size 60. It is fine enough to give you tiny stitches and can almost disappear on fine cottons. If you cannot find it, any size 50 sewing thread will work, just make sure you get 100% cotton.
When you sew, always choose a needle that is slightly thicker than your thread. This way, it will make a large enough hole for the thread to pass through without fraying. Use a sharp needle and replace your needles often. I like to hand sew with quilting betweens. They are shorter than standard “sharps”, and help me to make smaller, tighter stitches. You should choose a needle that you can thread. Some betweens come with larger eyes so that they are easier to thread.
I usually use John James Size 12 Quilting needles. The eyes are so tiny that I have never found a needle threader that will work with them. They can be found at most quilting stores. But, any sharp needle between size 9 and 12 will work. As with thread, the larger the number, the finer the needle.
You’ll need sharp scissors. I use a large pair for cutting out the pattern and keep a small pair next to my chair to snip threads while sewing. I also use a rotary cutter.
You can cut out your fabric on just about any surface, but a cutting mat is good to have to save your dining room table. There are even cutting mats that have an ironing surface on the reverse side (made by June Taylor).
A tape measure and ruler are essential. This tiny tape measure (above in pale pink) is available from Gail Wilson on her website. She sells them 4 for $1. They are perfect for measuring around a doll’s curves. Usually, retractable tape measures are not as wide as tailor’s tape measures, so they will work, too.
Another good product to get from Gail’s website is her Fray Preventer ($2). It dries clear and is flexible. I often use it on the edge of fine fabrics that will be rolled and whipped (yes, I’ll show you how to do this).
A good steam iron is important, especially when working with cotton.
If you’re just getting started sewing, here’s a quick list of the essentials: ¼ yard of 100% cotton lightweight fabric, cotton thread, sharp needles, small and large scissors, cutting mat, tape measure, ruler, and a steam iron.
Class will meet again next Friday, so gather your supplies and be thinking about which doll you want to dress. Throw your fabric in the washing machine with your next load of whites to soften it and remove the sizing. Feel free to work at your own pace. I’ll organize these tutorials on my site so that you can check back any time you wish. As always, thank you for reading my blog and I welcome your questions or comments.


Pingback: Tool Tedium - My Doll's Trousseau